
A paint sprayer gun is an essential tool for any painting project. It allows you to quickly and efficiently paint large surfaces with a uniform, even finish. But if you don’t take the time to properly clean your paint sprayer gun after each use, it won’t last long and may even produce poor results. This blog post will give you step-by-step instructions on how to clean a paint sprayer gun so that you can keep your painting projects looking their best.
Step 1: Safety First
Before starting the cleaning process, it’s important to take some safety measures. The first step is to make sure that the paint sprayer is turned off and unplugged. This will prevent any accidents from happening while you’re cleaning the gun. Also, you should wear protective gear like gloves and safety glasses to keep yourself safe from the chemicals and solvents that are involved in the cleaning process.
Step 2: Disassemble the Paint Sprayer Gun
The next step is to disassemble the sprayer gun. This will allow you to clean each part of the gun thoroughly. First, remove the spray tip and guard from the gun, and then take apart the gun’s fluid nozzle and needle. If your paint sprayer has a filter, you should also remove and clean it.
Step 3: Clean the Gun Tip and Guard
The gun tip and guard are usually the parts of the gun that get the dirtiest. To clean them, use a clean cloth or a soft-bristled brush to remove any excess paint or debris. You can also use a small wire brush to remove any stubborn paint buildup. After cleaning, rinse the tip and guard thoroughly with water and wipe them dry.
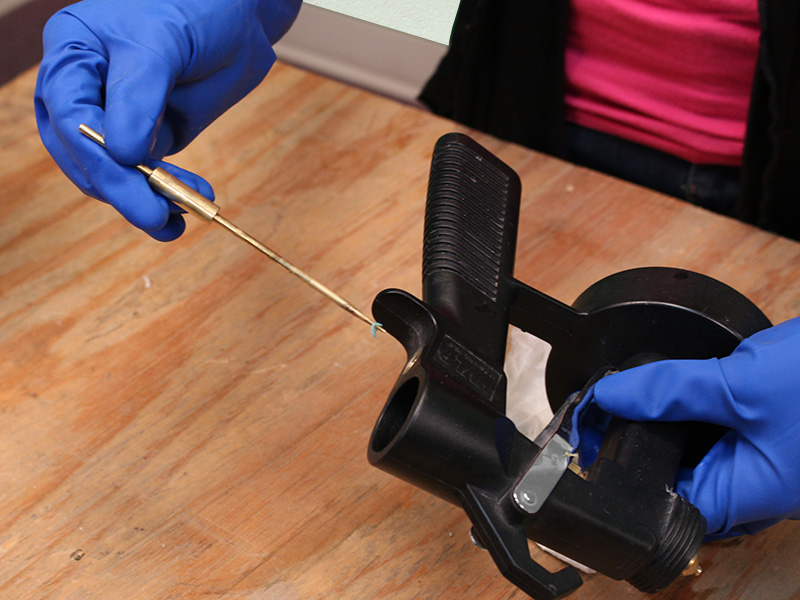
Disassemble the paint sprayer gun
Before cleaning your sprayer gun, it is important to make sure all parts are removed. Start by unscrewing the nozzle from the gun and then remove the inner components from the gun. Make sure you keep all the parts in a safe place where you won’t lose them. Once you have removed all the parts, you can begin cleaning the paint sprayer gun.
Soak all parts in mineral spirits
Soaking the parts of your paint sprayer gun in mineral spirits is a crucial step to properly cleaning it. To begin, separate all of the parts of your sprayer gun and place them in a container filled with mineral spirits. It’s important to ensure that all of the parts are fully submerged in the mineral spirits for a few hours or overnight. The mineral spirits will help to loosen and dissolve any remaining paint on the parts. After soaking, use an old toothbrush to scrub away any remaining paint from the parts before reassembling them.
Use an old toothbrush to scrub away any remaining paint
Once you have disassembled the sprayer gun and soaked all of its parts in mineral spirits, it’s time to start scrubbing away any remaining paint. An old toothbrush works best for this, as it can get into small crevices that other brushes may not be able to reach. Dip the toothbrush into the mineral spirits and begin scrubbing each part of the sprayer gun, making sure to focus on areas where there is remaining paint residue.
Scrubbing should be done carefully and thoroughly to ensure that all remaining paint is removed from the sprayer gun. When you are done scrubbing, rinse the parts off with water and dry them completely before reassembling the sprayer gun.
Rinse all parts with water
Once you have disassembled, soaked, and scrubbed away all of the paint from the paint sprayer gun, the last step is to rinse all of the parts with water. To do this, fill a bucket or sink with warm water and submerge the pieces. If possible, use a gentle spray from a garden hose to help rinse away any residual paint. Once the parts are sufficiently rinsed off, allow them to dry thoroughly before reassembling the paint sprayer gun.
Reassemble the paint sprayer gun
Once all the parts of the sprayer gun have been properly cleaned, it is time to reassemble the gun. Before beginning, make sure all the parts are dry and free from debris.
Begin by attaching the handle to the gun body. This is typically done by inserting a small metal pin into the handle, and then twisting it into place on the gun body.
Next, reattach the air cap and air nozzle to the gun body. Be sure to firmly attach these components as they are responsible for controlling the spray pattern.
After that, attach the fluid tip and the fluid needle to the front of the gun body. Make sure both components are secured tightly. If they are not, they can become loose and may cause a leak.
Finally, reinstall the air hose or air connection and tighten it securely. This ensures that the gun will be properly connected to the air compressor or pressurized air source.
Once all components are in place, your paint sprayer gun is ready to use!
Also Read: Top 20 Terraria House Ideas, Requirements, and Designs
Conclusion
In conclusion, cleaning your paint sprayer gun is an essential part of maintaining its performance and longevity. By following the steps outlined in this article, you can ensure that your gun is cleaned thoroughly and properly after each use. Remember to take the necessary safety measures, disassemble the gun, and clean each part separately. With a little effort and attention, you can keep your paint sprayer gun in excellent condition and achieve professional-looking results every time you use it.